alternateImage
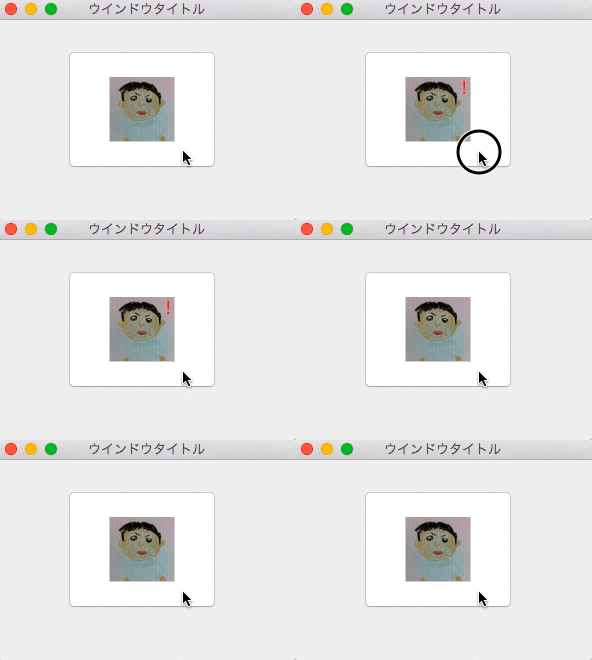
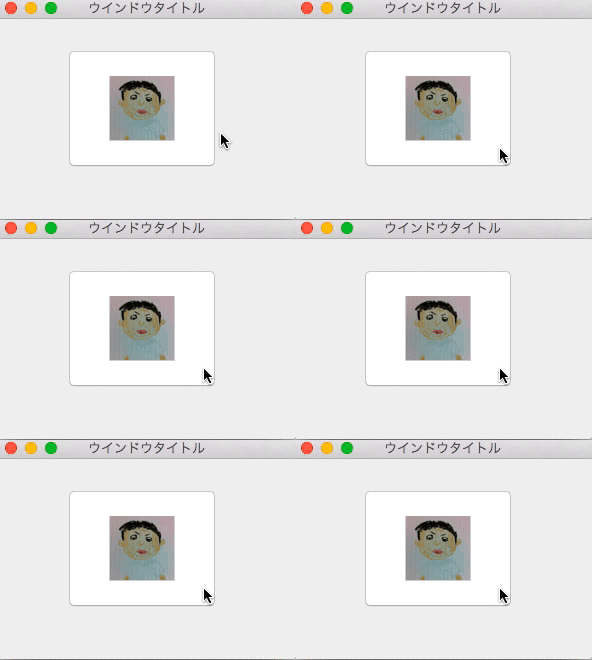
ボタンを押したときに表示される画像
@property(strong) NSImage *alternateImage
var alternateImage: NSImage?
解説
ボタンを押したときに表示される代理の画像を返します。
タイプによって代理の画像を表示しないボタンがあります。
初期設定は画像を表示しません。
ボタン画像

代替画像

代替画像があるとき

代替画像がないとき

設定値
@property(strong) NSImage *alternateImage
var alternateImage: NSImage?
( NSImage * )
代理画像
フレームワーク
ApplicationKit
クラス
NSButton
使用可能
10.0
例文
- (IBAction)myAction:(id)sender
{

 //開けるファイル拡張子の配列
    NSArray      *imgTypes    = [ NSArray arrayWithObject : @"tiff" ];
    //OpenPanelを作る
    NSOpenPanel  *opImage       = [ NSOpenPanel openPanel ];
    //Imageを作る
    NSImage      *img;
    //OpenPanelの結果のボタン番号
    int		  opRet;

        //OpenPanelでファイル選択
    opRet = [ opImage runModalForDirectory : NSHomeDirectory() //どこのディレクトリを出すか
                                     file : @"Pictures" //どのファイルを選択しておくか
                                    types : imgTypes ];//選べるファイルタイプ

    if ( opRet == NSOKButton ) {  // OPENPanelのボタンがOKなら
        //NSImageを作ってファイルから読み込む
        img = [ [ NSImage alloc ]
                          initWithContentsOfFile: [ opImage filename ] ];
//ボタンにImageをセット
        [but1 setAlternateImage : img ];
        //but1の画像を取得してbut2にセット
        [but2 setImage : [but1 alternateImage] ];
}
}

@end
// MARK: - alternateImage
    //NSButton alternateImage
    //http://cocoaapi.hatenablog.com/entry/00011109/NSButton_alternateImage
    //Swift2.0
    @IBAction func function010(sender: AnyObject) {
        //ウインドウ作成
        let aWindow : NSWindow
        = NSWindow(contentRect: NSMakeRect(0.0, 0.0, 300.0, 200.0),
            styleMask: NSTitledWindowMask
                | NSClosableWindowMask
                | NSMiniaturizableWindowMask
                | NSResizableWindowMask,
            backing: .Buffered,
            `defer`: false,
            screen: NSScreen.mainScreen())
        windowArray.addObject(aWindow) //ウインドウを保持するための配列に追加。アプリ終了時に配列は破棄
        aWindow.center()//ウインドウをスクリーンの中心に
        aWindow.title = "ウインドウタイトル"//タイトル設定
        //ボタン作成
        let theButton : NSButton = NSButton(frame: NSMakeRect(70.0, 50.0, 150.0, 120.0))
        theButton.title = "Change"//タイトル
        theButton.alternateTitle = "Alter"

        //alternateTitleを表示するには
        //MomentaryChangeButtonである必要がある
        theButton.setButtonType(NSButtonType.MomentaryChangeButton)
        theButton.bezelStyle = NSBezelStyle.RegularSquareBezelStyle
        //スタイル
        theButton.imagePosition = NSCellImagePosition.NoImage
        //NSCellImagePosition.ImageRight 画像が右
        //ImageAbove 画像が上
        //ImageBelow 画像が下 指定しないと
        theButton.image = NSImage(named: "face")
        theButton.alternateImage = NSImage(named: "face_alternate")
        theButton.action = Selector("buttonAction002:")//ボタンを押した時に動かす関数
        theButton.target = self//ターゲット

        aWindow.contentView!.addSubview(theButton)

        aWindow.orderFront(self)//前面に
        aWindow.makeKeyAndOrderFront(self)//表示
    }